Categories
Decor Tips
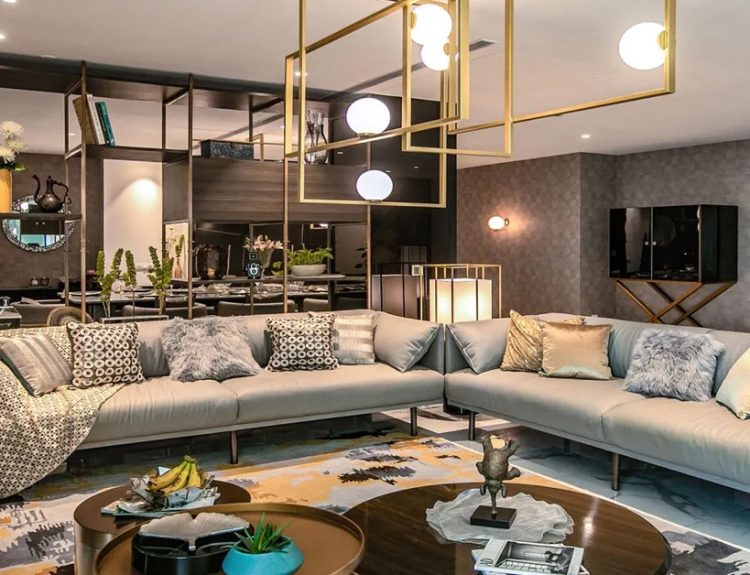
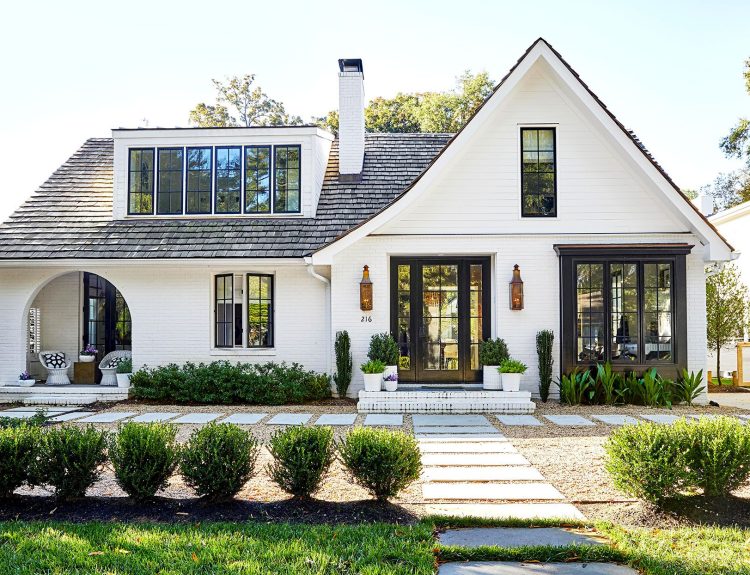
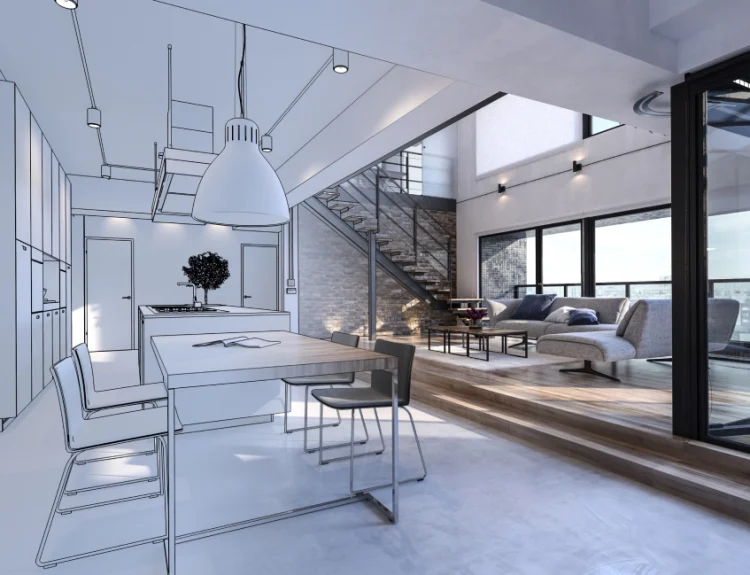
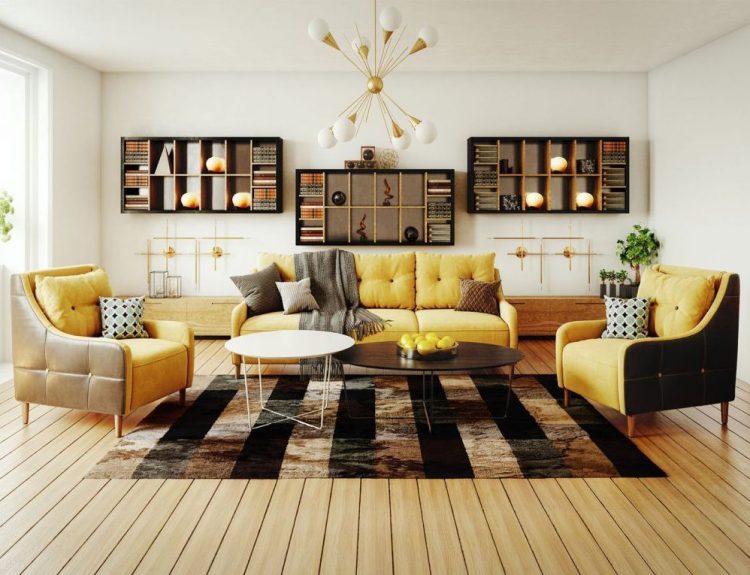
Mastering the Art of Home Decor: Expert Tips for Creating Stunning Spaces
Decorating a home is an art form that blends functionality with aesthetics. The right decor not only enhances the beauty of a space but also creates an atmosphere that reflects personal style…
Read More